Avaya turned ONE! I just cannot believe her first birthday has come and gone already. That was the fastest year of my life, and I wish time would slow down! I’m trying my best to always be present, appreciate every moment, and just breathe her in. She amazes me every single day.
Okay, I know on a kid’s first birthday, the cake is kind of a big deal. It’s often the first time a baby has the opportunity to dive into sweets, get that first taste of refined sugar, but the idea of giving her free rein on an entire sugar filled cake made me unsettled. I’m just not ready. I’m super conscious of everything she eats. She’s a great healthy eater, loves her fruits and veggies, so why introduce her to refined sugar now?
So when it came to planning her first birthday party, I knew I wanted to take the smash cake baking into my own hands. Of course I didn’t want to deprive her of the special experience either, so I needed to find a delicious, sweet, yet healthy first birthday smash cake recipe.
I chose to make both Avaya’s smash cake, and the larger cake for everyone else. While Avaya’s cake was made from scratch with healthy ingredients, I used a box of yellow cake mix for the other 🤷♀️
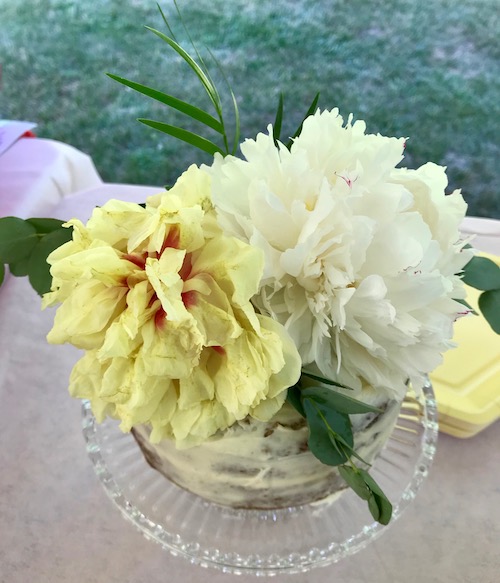
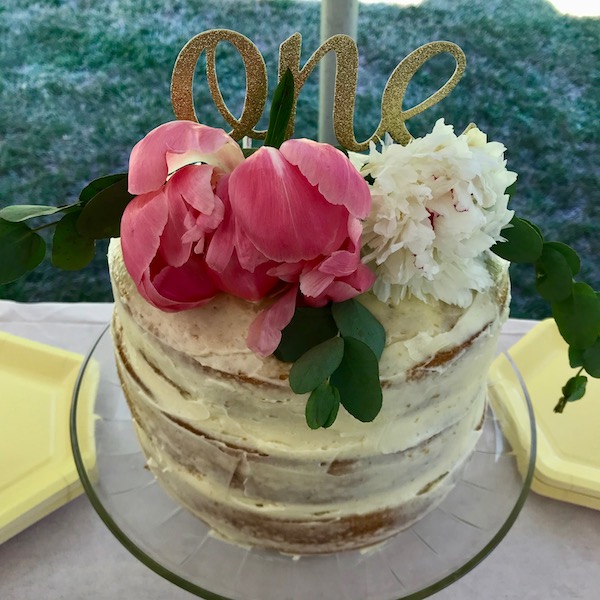
I knew from the get-go what I wanted the cake to look like. I wanted a “naked cake,” like the ones all over Pinterest with barely-there frosting. I’ve never had much of a like for frosting, and find the new “naked” trend really pretty and easy to decorate. I wanted the top of the cake decorated with peonies, eucalyptus, and a glittery “ONE” cake topper. Simple and beautiful.


A couple weeks before her party, I purchased this handmade first birthday cake topper on Amazon. I was happy with it – great quality and really pretty. After her party, I cleaned the cake off, packed it away, and plan to use it again for baby #2’s first birthday cake!
I also bought this 6″ x 2″ round cake pan for the smash cake. For the larger guest cake, I used this 9″ x 2″ round cake pan.
The recipe for Avaya’s healthy first birthday smash cake, I found on Vani Hari’s website, foodbabe.com. If you don’t already follow Vani on instagram or follow her blog, you should! I was first introduced to her while attending the Institute for Integrative Nutrition, and have been following her ever since. She’s an advocate for change in the food industry, and I love everything she does.
The cake tasted a lot like banana bread, and had the density of it too. Made with oat flour, this isn’t a recipe for a light and fluffy cake. Avaya really enjoyed it, and I did too!
You can find the recipe I used for Avaya’s healthy first birthday smash cake below.
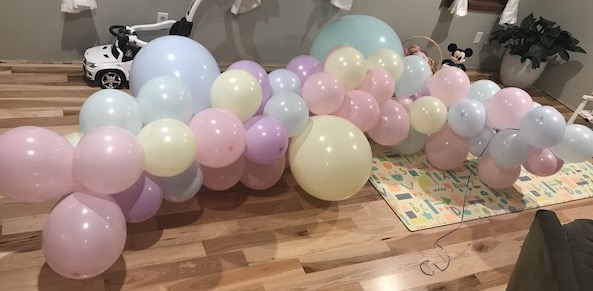
I was going to do a whipped coconut cream frosting for her smash cake, but ran short on time before the party to make it. Between making the food for the party, doing the cakes, and last minute decorating, I was running behind on everything – I stayed up way too late the night before making a balloon garland (it was pretty while it lasted, but a lot of the balloons popped in the heat after bringing it outside!).
I already had buttercream cream frosting made from scratch for the larger cake, so I just frosted Avaya’s cake with that as well. It was made simply with butter, powdered sugar, a hint of pure vanilla extract, and a bit of heavy cream (recipe below).

A week before her party, I did a test run of the coconut cream frosting I planned to make. It came out delicious, and Avaya loved it. It’s a great option if you want a dairy free, vegan frosting. Although, I’m not sure how it would have held up in the 90 degree heat if I did go this route. It had a coconut oil-like texture to it, so it may have melted off the cake within a short period of time. I’ll share the recipe for this frosting below as well.
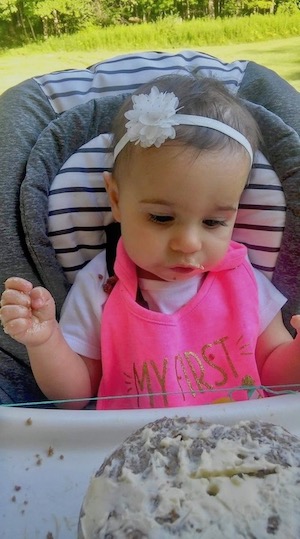
After singing happy birthday and blowing out her candle, Avaya wasn’t quit sure what to do with the cake sitting in front of her. After giving her a little taste, she dove in with both hands.

Avaya’s Healthy First Birthday Cake
Prep: 10 minute | Cook time: 25 minutes | Total time: 35 minutes
Recipe adapted from Food Babe
Cake size: 6″ x 4″ (total with 2 layers)
INGREDIENTS:
- 2 cups oat flour (I made my own by grinding oats in the food processor)
- 1 teaspoon baking powder
- 1 teaspoon baking soda
- 1 teaspoon cinnamon
- 1/4 teaspoon sea salt
- 1 large ripe banana (or 2 small/medium sized bananas)
- 2/3 cup unsweetened applesauce
- 1/2 cup coconut milk
- 1/4 cup pure maple syrup
- 2 large eggs
- 2 teaspoons pure vanilla extract
- butter and a sprinkle of extra oat flour for the pan
INTRUCTIONS:
- Preheat over to 350 degrees F
- Mix together all dry ingredients (oat flour, baking powder, baking soda, cinnamon, salt) and set aside
- In a separate bowl, blend together all wet ingredients (banana, applesauce, coconut milk, maple syrup, eggs, vanilla extract)
- Combine the dry ingredients with the wet ingredients and mix together well
- Butter the cake pan(s), and dust with oat flour to avoid sticking in the pan
- Divide the batter evenly into two separate 6″ x 2″ round cakes pans (or if you only have one, pour half of the batter into the pan, and save the rest for after the first is done)
- Bake for about 20-25 minutes, or until a toothpick inserted into the center of the cake comes out clean
- Let the cake cool before removing from the pan
Buttercream Frosting
INGREDIENTS
- One stick (8 Tablespoons) softened unsalted butter
- 3/4 cup powdered sugar
- 1 teaspoon pure vanilla extract
- 2 Tablespoons heavy cream
INSTRUCTIONS
- Beat all ingredients together in a mixer on medium speed until smooth and creamy
[Alternative] Whipped Coconut Cream Frosting
INGREDIENTS
- 1 can (~14 ounces) chilled coconut cream (I used Let’s Do… Organic Heavy Coconut Cream)
- 2 Tablespoons pure maple syrup
INSTRUCTIONS
- Chill the can of coconut cream in the refrigerator for at least a few hours prior to making frosting. This will separate the coconut cream from the coconut water, bringing the cream to the top.
- Scoop the cream from the top portion of the can into a mixing bowl, leaving behind the coconut water in the bottom of the can
- Add the 2 Tablespoons maple syrup for sweetness
- Mix together the two ingredients on medium/high speed until a whipped cream consistency forms
*Some of the links in the post above are “affiliate links.” This means if you click on the link and purchase the item, I will receive an affiliate commission. Regardless, I only recommend products or services that I believe will add value to my readers.